

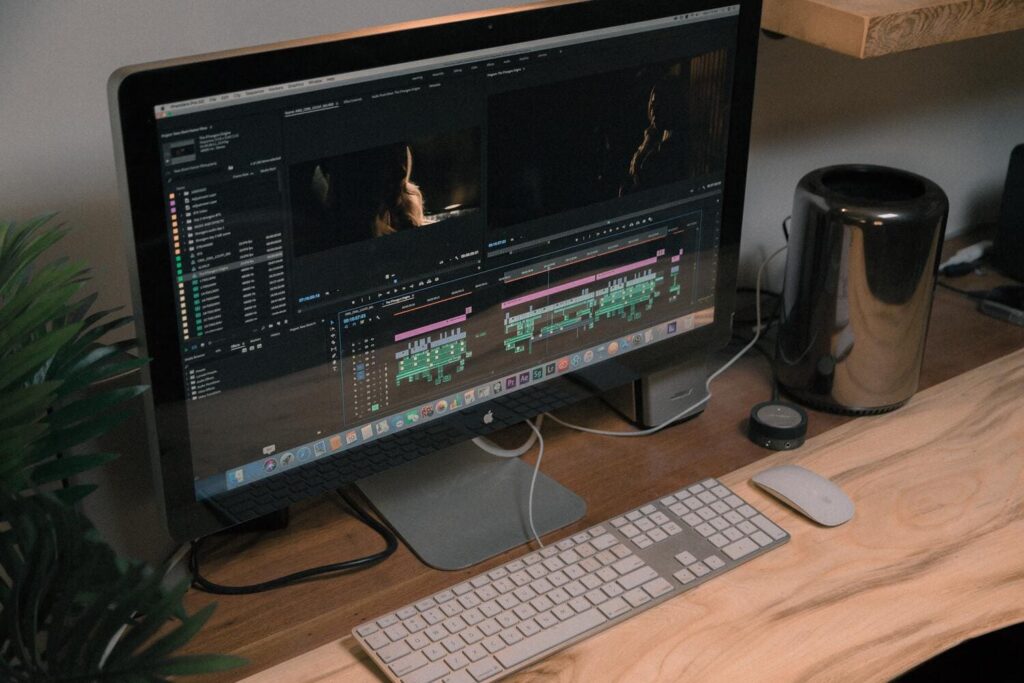
If you’ve edited your own video, you’ll know how tedious and frustrating it is, when you’re trying to find the right video clip you need for the edit. You may even know how tiresome it can be editing a video frame by frame, or even trimming down a clip, to the right frames you need. Would you believe that there are many shortcuts professional video editors use, to make their video editing workflow more efficient. And we know what they are. So, here are 5 tips for a high-efficiency video editing workflow.
1. Rename Your Footage
One of the most overlooked parts of a video edit is the footage name. When you shoot on a camera, you’ll get the standard file names like “IMG_001” or something similar. While you might be able to identify your footage with these names, if you’re working with other video editors, it can be difficult for them to know which footage they need. So, they’d need to watch every piece of footage, to associate the title of the clip with what they see. It’s a tedious process, and very inefficient. So, that’s why you need to rename the footage, to match what is in it. So, if the action in the clip is of a woman walking down a street, you should name it “woman walking down a street”, or something similar.
This will make it easier for everyone involved, to find the clip they need. Not to mention it’ll be easier for you, so you don’t get confused which file number you need. You’ll instantly know which clip you need, just by the title alone. For example, if you have an introductory clip, in your video, you can simply name it “Intro”. So, you’ll know that it’s the first clip you will need to add, into your timeline. So, renaming your clips, before you even start is an important step in making your workflow more efficient.
2. Use Folders In Your Bin
When you’re working on a feature film, there will be thousands of B-rolls, takes, and types of shots that you’ll need to work with. So, sifting through it all, to find the clip you need can be time-consuming. That’s why you should use folders in your media bins. This means that in the panel, where you import your footage into, should have folders for the different media you’re using, like audio, music, footage you’ve captured, and images or photographs. By sorting out the media in your media bin, you won’t have to keep scrolling down a lengthy list of clips, images, music, or audio files to find the one you need to use.
By sorting your media into different folders, you’ll have a shorter list to scroll down. In fact, you can even sort your files even further, into the scenes they need to be in, or into the types of shots they are. Doing so will make your workflow more efficient, because you won’t need to scroll through a long list of media or type its title into a search bar. You simply need to click into the folder it’s in.
3. Make Proxy Files
One of the best ways to save storage on your computer, and to make your workflow more efficient, is to make proxy files. This means that instead of working with full copies of the footage you have, you’ll be working with compressed files. While this means you’ll be working with lower resolutions, it does mean that the files will be easier to render and edit with, and once you’re done, you can replace those proxies with the full-res footage.
This makes it easier for editors, especially those working on full-length feature films. After all, they’ll be working with RAW footage, most of the time, so they’re working with lots of footage that needs a lot of disk space. If they used the full-res files, they’ll need very high-speed computers, with a lot of storage space. These types of computers can be very expensive, and not very easy to find. So, by making proxy files, they can edit more efficiently, because they won’t need to battle slow render speeds and lack of storage space.
4. Label Your Footage
If you’ve ever used a Mac or MacBook, you’ll find a function in the Finder folders, where your documents and files usually are, you’ll find a function that says “label” and you’ll get different colours to label your files and folders, so it’s easier to identify. You can do the same, or similar thing, on an editing programme, like Adobe Premiere Pro. You can label your footage, according to your needs. So, it’ll be easier to find the footage you need.
For example, if you have a lot of stock footage, you can label them with the same colour, so you don’t lose track of them. Or, if you have a bunch of shots and takes for a specific film, you can label all of them, so you know which footage belongs to which scene. This is a very useful tool that can help your workflow be more efficient, especially if you’re working on a full-length feature film. When working with lots of scenes, you’ll be able to tell which piece of media you need, just by its label colour.
5. Use Keyboard Shortcuts
If you’ve edited a few video projects before, you’ll know all about keyboard shortcuts. Keyboard shortcuts are the best way to make your video editing workflow more efficient. This means that instead of clicking into the menus at the top left-hand side of your screen, or clicking on the buttons you need, you simply need to press a key on your keyboard, and your cursor will turn into the right tool you need.
Keyboard shortcuts are the perfect aid to making a workflow efficient, because you won’t need to spend time looking for your cutting tool, or the resizing tools. It’s all at your fingertips. So, you can concentrate on masking that clip, or adding that special effect onto the timeline! Not only that, but for most editing programs, the keyboard shortcuts are the same, with the “C” key usually corresponding with the “Cut” tool and the “A” key corresponding with the standard cursor. If you aren’t too sure, you can always look it up. There are many lists on the internet that can help you remember which key corresponds to which tool.
You May Also Like to Read
5 Worst Wedding Video Mistakes To Avoid


